This dress basic on
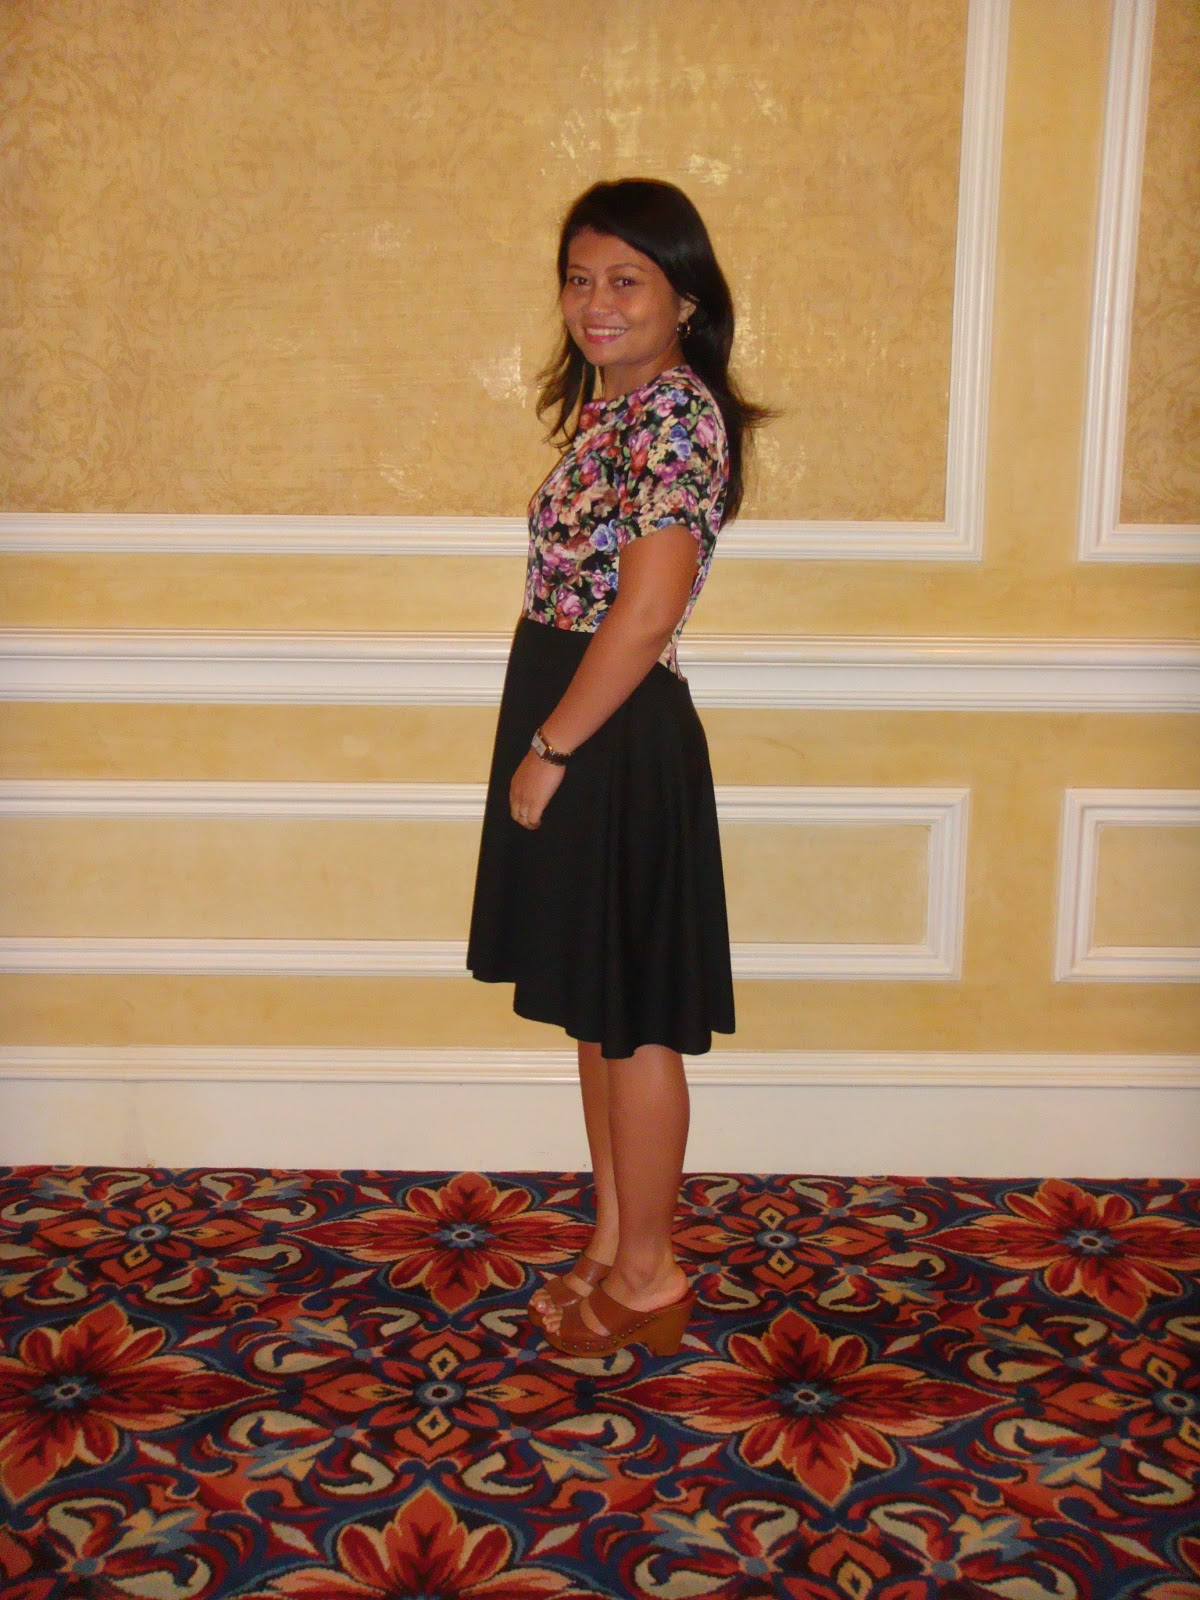
Burdastyle A-line Dress 08/2012. A very girly dress with front slite and high low skirt, made from two different type of fabric. For the top, I used 1.5 yard of crepe de chine flower print fabric. For the skirt, I used 1.5 yard of lightweight polyester-cotton fabric in black colour. It was very easy project (for me), I spent 8 hours in total to make this dress including transfering the pattern and cutting the fabric.
I used size 34 for the top pattern and size 36 for the skirt pattern. I omitted the pockets and change the long sleeve to the short sleeve. I drew the facing little a bit bigger, you will see on the post below. I also shortened the skirt pattern about 5''. The rest of the dress is same as the original pattern.
 |
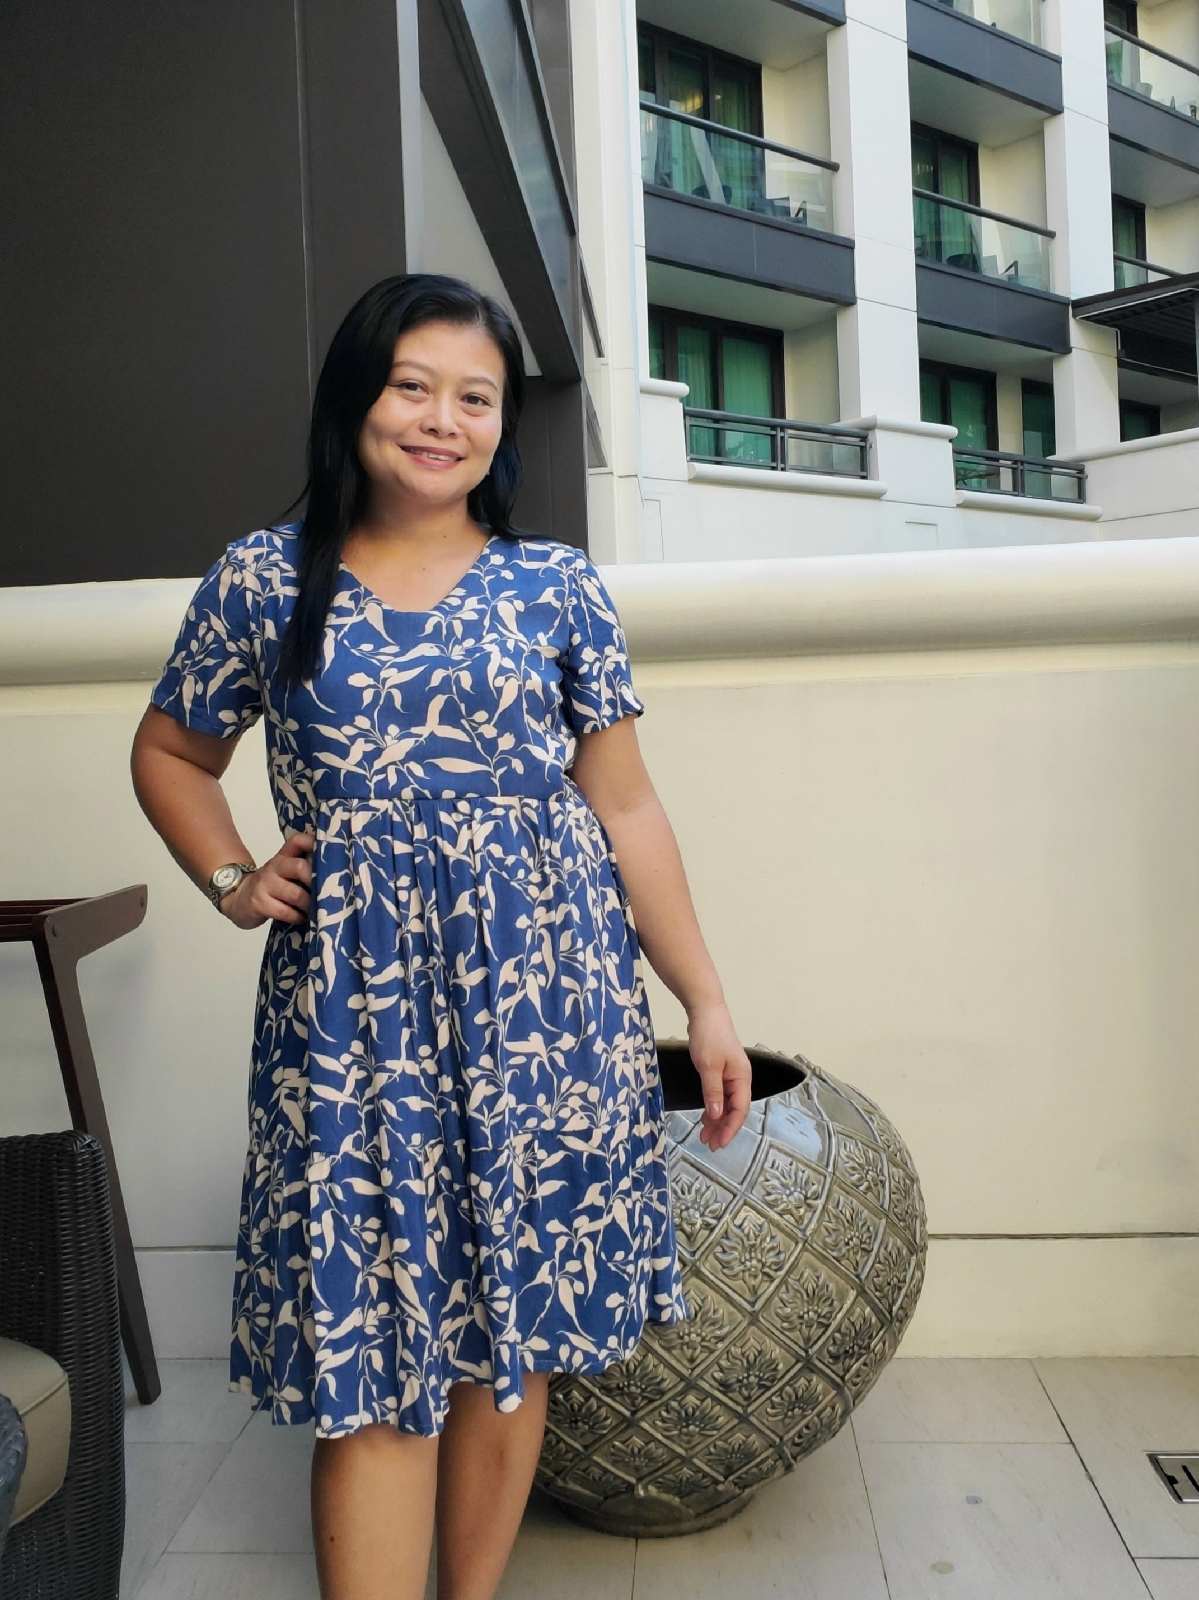
| the front dress |
 |
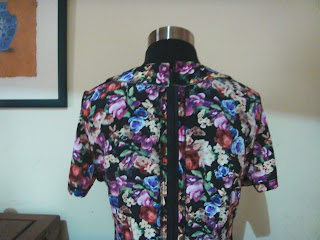
| the back dress |
As the dress made from two different type of fabric, here you can see how beautifully the waist line finished.
 |
the side of the dress
|
 |
| the back of the dress |
 |
| the right side of the front dress |
Now, I will show you how I worked on the front slite and neck facing. As my experience on the dressmaking, for me the bigger front slite facing will worked better than the skinny one. And of course I have to iron the fusible interfacing on it to avoid fluffy:)
For the front slite facing, I drew about 2'' from the shoulder down to the middle front just 1/2'' below front slite as shown on the picture below.
For the back neck facing, I drew the same measurement about 2'' from the shoulder finished also 2'' from the middle back, as shown on the picture below.
 |
| the wrong side of the front dress |
 |
| the wrong side of the back dress |
The final part of the dress is how softly the invisible zipper inserted on this dress, finished with the floral button (difficult to see here but it's really cute) instead of using hook n eye.
 |
| the right side of the back dress |
A little note: I wore this dress last weekend for the first time ever after I sewn it. I, my husband and sons went to the Titanic Exhibition and the Human Bodies Exhibition here in my place. It's really lovely weekend:)
See you on the next sewing project...


Comments
Post a Comment